Painting is one of those projects that looks easy on social media and then somehow ends with paint on the ceiling, the carpet, and your hair. The difference between a messy job and a pro-looking finish is mostly preparation and technique. Whether it’s your first time or you just want better results, here’s how to paint a room like a pro, from choosing the paint to the final clean-up.
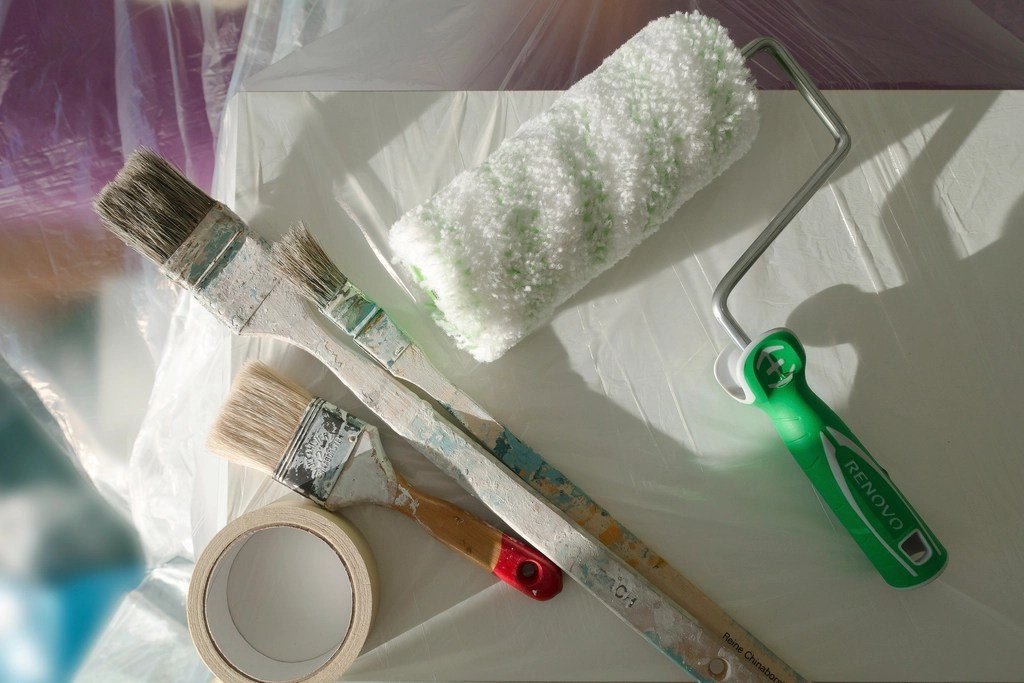
Tools and Supplies
- Paint and primer (if needed)
- Angled sash brush (2–2.5 inches)
- Roller frame, roller covers, and an extension pole
- Paint tray and liners
- Painter’s tape
- Drop cloths
- Spackle, putty knife, and sandpaper
- Stir sticks and a damp rag
Step 1: Choose the Right Paint
- Flat/matte: hides imperfections; best for ceilings and low-traffic rooms.
- Eggshell: soft sheen, easier to clean; popular for living rooms and bedrooms.
- Satin: more durable; good for kitchens, bathrooms, and kids’ rooms.
- Semi-gloss: very durable; ideal for trim and doors.
Test samples on the wall and look at them in morning and evening light before committing.

Step 2: Calculate How Much Paint You Need
Measure the width of each wall and multiply by the height to get the square footage. Subtract large windows and doors. Check the paint can for its coverage rate, and plan for two coats.
Step 3: Prepare the Room
- Move furniture to the center and cover it.
- Remove outlet covers and switch plates.
- Lay drop cloths on the floor.
Step 4: Repair and Clean the Walls
- Fill nail holes and cracks with spackle, let dry, and sand smooth.
- Wipe walls with a damp cloth to remove dust and grease.
- Prime patched areas, stains, or very dark colors.
Step 5: Tape Edges
Apply painter’s tape along trim, ceilings, and edges. Press it firmly so paint doesn’t seep underneath.
Step 6: Cut In
Use your angled brush to paint a 2–3 inch band along the ceiling, corners, and trim. Work one wall at a time so the edges are still wet when you roll.
Step 7: Roll the Walls
- Load the roller evenly; don’t overload it.
- Paint in a “W” or “M” pattern about 3 feet wide, then fill it in without lifting the roller.
- Keep a wet edge to avoid lap marks.
- Work from top to bottom.
Step 8: Apply the Second Coat
Let the first coat dry according to the can’s instructions, then repeat cutting in and rolling.
Step 9: Remove Tape and Clean Up
Remove tape while the paint is still slightly soft, pulling at a 45-degree angle for a crisp line. Clean brushes and rollers according to the paint type.
Pro Tips
- Paint the ceiling first, then walls, then trim.
- Use a quality roller cover; cheap ones shed fibers.
- Box your paint: mix multiple cans together for consistent color.
- Ventilate the room while you work.
Common Mistakes
- Skipping wall prep
- Painting over glossy surfaces without sanding or priming
- Applying thick coats that drip
- Not letting coats dry fully
Safety note: homes built before 1978 may contain lead paint. Test before sanding or scraping old paint, and follow lead-safe practices if needed.
How Long Does It Take to Paint a Room?
For an average bedroom, plan on a full day if you’re doing it yourself: a couple of hours for prep, a few hours for two coats, plus drying time. Larger rooms, high ceilings, or dark-to-light color changes will take longer. If you want to paint a room in a single weekend, do the prep and first coat on Saturday and the second coat on Sunday.
Choosing Paint Colors With Confidence
- Test big swatches. Paint large samples or use peel-and-stick samples and move them around the room.
- Check light at different times. North-facing rooms look cooler; south-facing rooms look warmer.
- Think about the whole home. Choose colors that flow well from room to room.
- Go lighter in small spaces. Light colors help a small space feel bigger. See our tips to make a small living room look bigger.
Paint a Room Safely
Open windows and use fans for ventilation, and take breaks if you feel lightheaded. Low-VOC or zero-VOC paints reduce odors. If your home was built before 1978, test for lead before sanding or scraping old paint. The EPA’s lead resources explain how to work safely.
Cleaning Up Without the Mess
- Wrap brushes and rollers in plastic between coats instead of washing them.
- Clean water-based paint tools with warm, soapy water.
- Keep a small jar of leftover paint labeled with the room and color for touch-ups.
- Never pour paint down the drain. Check local rules for disposal.
Planning a bigger update? Painting is often the first step of a renovation. Our kitchen remodel planning guide shows where paint fits in the process.
Paint a Room FAQ
Do I need primer before I paint a room?
Use primer on new drywall, patched spots, stains, glossy surfaces, or when making a big color change. Many paint-and-primer products work for simple repaints.
How many coats of paint do I need?
Two coats is the standard for an even, durable finish.
Should I paint the ceiling or walls first?
Ceiling first, then walls, then trim.
How do I avoid roller marks?
Keep a wet edge, don’t press too hard, and finish each section with light top-to-bottom strokes.
Paint Finishes by Room
| Room | Recommended Finish |
|---|---|
| Living room and bedrooms | Eggshell or matte |
| Kitchen | Satin or semi-gloss |
| Bathroom | Satin or semi-gloss (moisture resistant) |
| Ceilings | Flat |
| Trim and doors | Semi-gloss |
Choosing the right finish is just as important as choosing the color when you paint a room. It affects durability, how easy the walls are to clean, and how much imperfections show.
Key Takeaways
- Preparation is the secret: patch, clean, and tape before you open the can.
- Choose the right finish for each room.
- Cut in first, then roll in sections while keeping a wet edge.
- Two thin coats look better than one thick coat.
Once you paint a room the right way, you will be surprised how professional the result looks.
One More Tip
Can I paint a room without taping?
Yes, many experienced painters cut in freehand using a quality angled brush and a steady hand. If you are new, tape helps you get clean lines while you build confidence. Try practicing on a small wall or closet first. Either way, take your time along edges, because they are what people notice most when you paint a room.
Final Thoughts
Great paint jobs are mostly about preparation. Take time to patch, clean, and tape, then cut in and roll carefully. The result will look like a professional did it.